

The correct way to create a custom WordPress widget with options and settings, text input, checkbox input, radio input, textarea, allow HTML tags in textarea, select option. Easy examples and simple with download.
How to create a Custom WordPress Widget
You need a new PHP class extends WP_Widget class, after that register your Widget class in widgets_init action. Read about Widget API.
A Simple Widget
This is an example to create a simple WordPress widget:
class MyClassName extends WP_Widget {
    function MyClassName() {
        parent::__construct( false, 'Your Widget Name', array('description' => 'Your widget description...') );
    }

    function widget( $args, $instance ) {
        echo $args['before_widget'];
        echo "Hello World";
        echo $args['after_widget'];
    }

    function update( $new_instance, $old_instance ) {
    }

    function form( $instance ) {
    }
}
add_action('widgets_init', create_function('', 'return register_widget("MyClassName");') );
You can use the example in your theme, just copy the code and paste it in your “functions.php” file.
How to create a Custom Widget with Options or Settings
You need some functions:
- checked() function for Checkbox and Radio input.
- selected() function for Select Option.
- esc_textarea() function for Textarea. If you want to display HTML tags in Textarea, you need also wp_kses_post() function.
- wp_parse_args() function.
- Data Validation.
A Custom Widgets with Multiple Options
I made a WordPress widgets plugin to learn how to create a custom widget with any option like text input, textarea, allow HTML tags in textarea, checkbox input, radio input, select option, image widget. Screenshot:
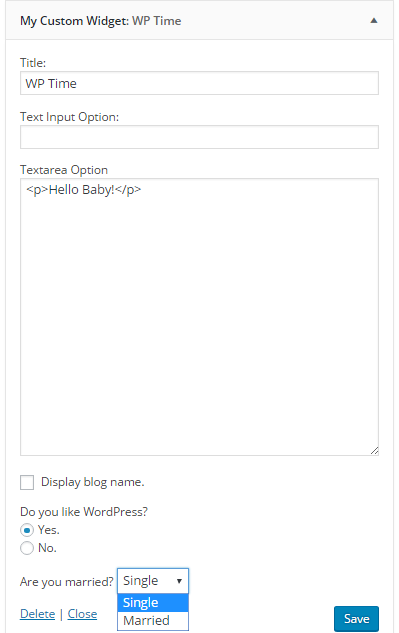

Download the plugin and read the code to learning.
Note
There is no difference between Widget in plugin and Widget in theme.


